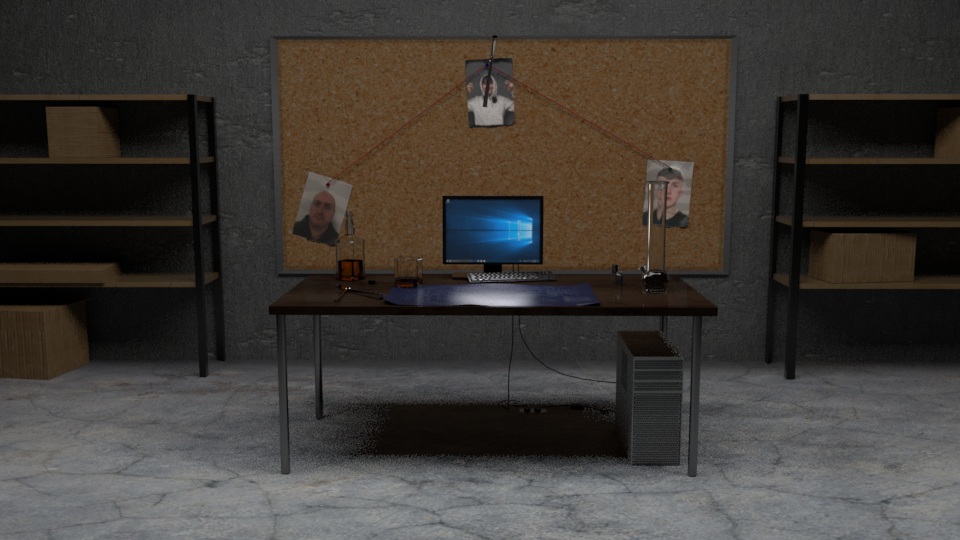
3D Plot Room
By lukephillips3D Plot Room
This project was created using
Autodesk Maya 2019 and Adobe
Photoshop CC 2019.
All personally textured apart from Walls (VisualAct)
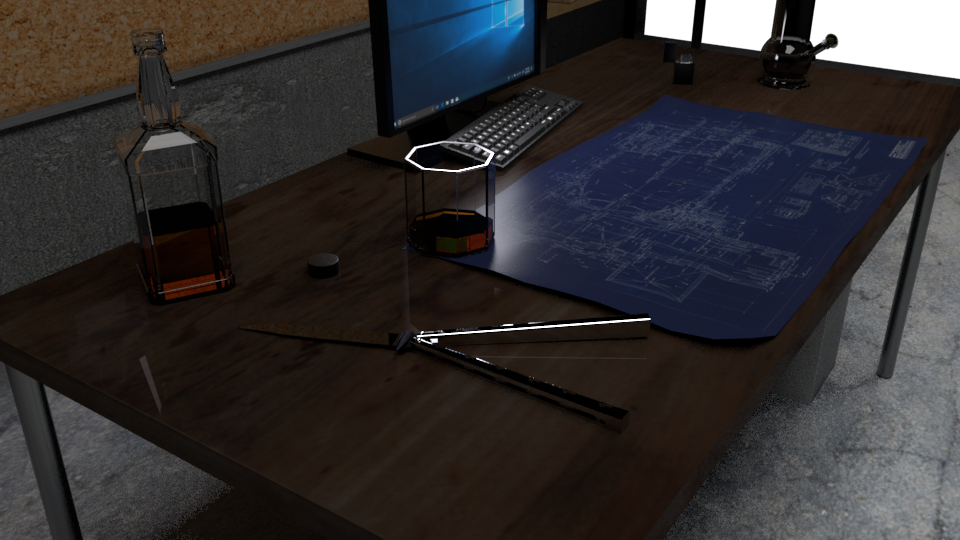
At first I started with the intentions of just making the butterfly knife so I created a cube and stretched it into the shape of one of the handles. I then bevelled the edges to smooth the cuboid off and made one end face longer than the other. Once I was happy with the overall shape of the handle I created a pill shaped prism and duplicate them evenly through the handle and by selecting the handle shape first and then the prisms I used the difference boolean to cut the shapes out of the handle. To create where the blade was going to be hidden and where the blade would rotate I used cubes that I stretched and made thin then used the same boolean function. Now I was happy with one I duplicated it and flip the 2nd one 180 degrees so that it mirrored the original. Next I moved on to the blade which I used the base model of a cube for creating the basic shape of the blade which I would then collapse some of the edges to create the sharp part once I was happy. Lastly was the pins which I used a sphere for by stretching the middle out to create a pill and then altered the thickness of the centre cylinder using edges. To texture the shape I used an aiStanderedSurface chrome on the handle and blade but gave the blade a darker colour from the almost mirror effect on the handle. However before texturing I made sure they were all the right size in comparison to each other by assembling the knife. After texturing the pieces I selected them all and combined them to make one easily movable butterfly knife.
For the cables I used the EP curve tool to create the basic shape I wanted in a side angle view and when that was created I went back into the perspective view to alter the vertices further. Next I created a cylinder and changed the divisions from 20 to 12 and deleted the faces other than the 12 on top leaving just a circle shape which I then scaled down to the diameter of what I wanted the cables to be. I then clipped the circle to the curve by highlighting the faces on the circle and pressing “C” and the centre mouse button along the curve And put it up to the top where I wanted the cable to start. Next with the curve coming out of the centre of the faces I selected all the faces and shift selected the curve pressing “control” and “E” to extrude the faces along the wire. To fix the problem of it going from the start to the end of the curve in straight line I increased the subdivisions to 60 to let the cylinder bend around the curve which I then put plugs on the end of to increase realism.
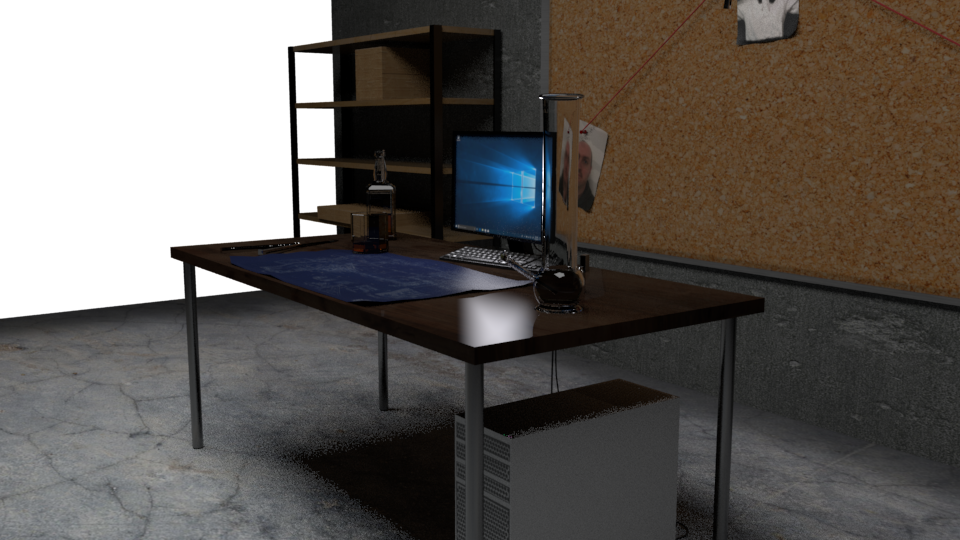
To create the monitor I started on the screen, extruding and resizing until I got the shape I wanted for the model. To texture the model I unfolded the initial UV it gave me and pressed layout to resize it to fit into the square. Next I wanted the rectangle where the monitor display was going to be more equal and to make it look more rectangle so after I was happy with the UV layout I took a UV snapshot and opened it up in photo shop putting a black layer over it for the black pieces of plastic and added a default screenshot of a standard windows desktop and layered that over where the screen display was. After saving it as a Jpeg I opened up hyper shade created an aiStanderedSurface changed the colour to a file type and changed the file to the Jpeg. After this I selected the model in object mode and assigned the material. Next to give it the affect that it was emitting light I added and area light just in front of the screen exactly the same size to cast light on to the rest of the desk.
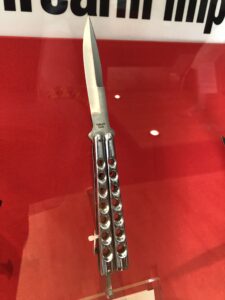
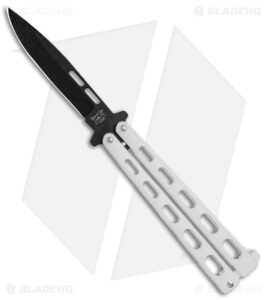
To get a reference of what we were modelling we went to the royal armouries to take photos of real world imagery completing our primary research for the project. The primary research was helpful as you can interpret the sizing more accurate in person and you can also see the object from more than one angle which gives off a lot of extra details. We then used the internet for further images, as a part of our secondary research and to further our knowledge of how the model should look and react with light and not only this but how it would react to the physics of the world such as gravity. The secondary research was good as it allowed me to see different variations of how the object could look and how I can improve the design for my own liking.
