3D Fantasy Room
By lukephillips3D Fantasy Room
This project was created using
Autodesk Maya 2019 and Adobe
Photoshop CC 2019.
All textures are personally drawn by me using photoshop.
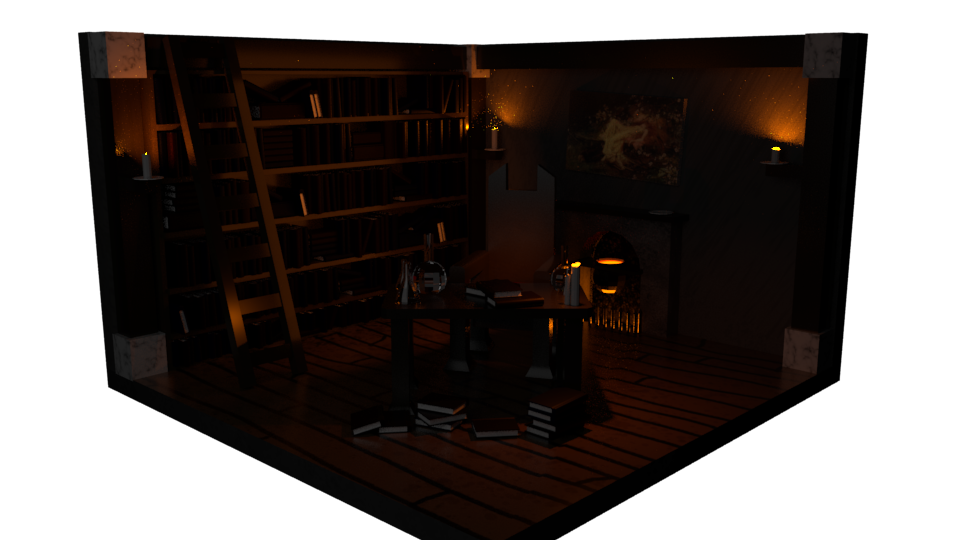
For this project I was given the challenge of creating a fantasy room in which all the assets I created for the room couldn’t be above 350 polygons and all the textures had to be hand drawn by myself. This made the project difficult as I still wanted to keep some sort of realism while keeping the polycount low, so top do this I avoided creating too many round objects aa they usually have to have more polygons to create a smooth look. Furthermore when it came to creating the textures, such as the floor and the fireplace, I figured the best way to add texture and roughness was to add areas of discoloured and darker parts to cause an uneven look and give it some realistic look. I accomplished this by changing my brush to a splatter type and lowering the opacity and using a darker or lighter colour in certain areas that I believed there would be which I thought worked out pretty well.
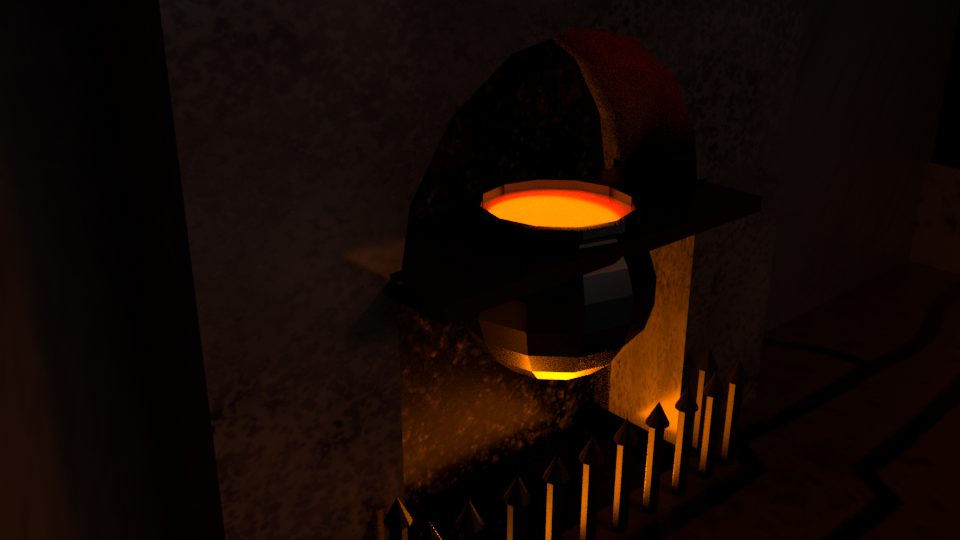
You can see on this image the texture I have added to increase the realism of the materials and also give off affects such as smoke and ash that has stuck to the back of the fire place. I’m really happy with how the fireplace and cauldron turned out and this is due to a couple of reasons, one being the lighting. For this I put an orange area light underneath the cauldron where the fire would be to give some warmth as if there was a lit fire underneath it. I then added another are light above the cauldron facing down at the orange “liquid” to illuminate it and make it look as though it was really hot and bubbly. The last area light I added to the fireplace was mirrored to the one facing down at the liquid and faced up towards the top of the fireplace which looks good as it makes the liquid seem like it is giving off light as well as the fire. As you can see to minimise on polygons on the cauldron it looks fairly jagged and sharp however I believe that this gives off a more handcrafted look and fits in nicely to a fantasy era as they would of been created using a hummer to shape the metal.
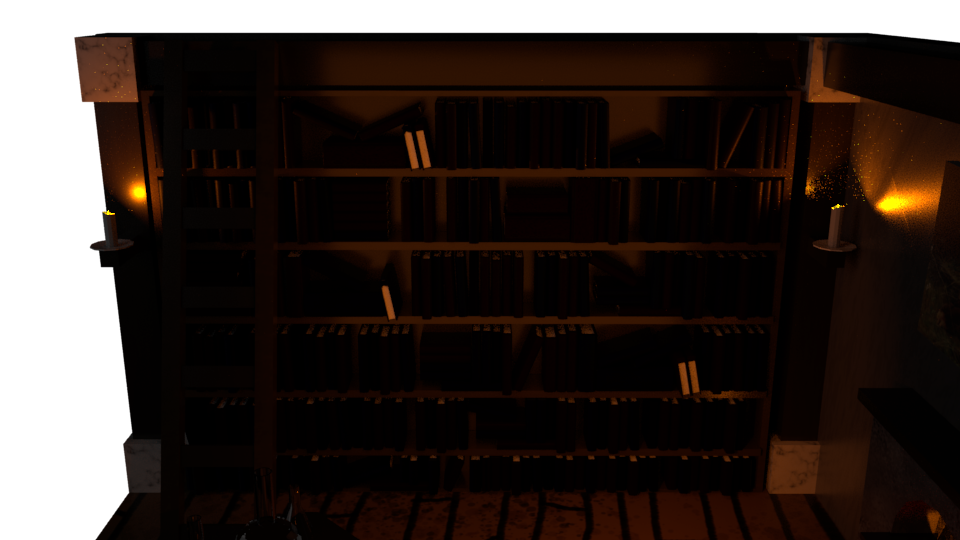
The books turned out well in my opinion as they show variety within shape, size and layout giving the bookcase a genuine feel. However, it was very time consuming due to a small mistake which I ended up solving which was that I was focusing on duplicating the books and altering them and moving them about to make it look natural but when it came around to doing the UV layouts and texturing the UV’s didn’t line up. So to fix the problem I used the UV tool “stack similar shells” to stack them all on top of each other and then manually moved the vertices so the lined up with the other UV’s which caused a bit of hassle but I managed to over come the problem the quickest way I could and made sure they turned out nice. In future to improve I should have mad three or four different books of size and colour and texture them first before duplicating them to save time and effort for other areas of the project.
Overall throughout this project i have enjoyed the challenge of being restricted with my polygons and only being able to paint my own textures as it has pushed me to be more creative to get around them and has given me a chance to work on basic skills and further familiarise myself with the software. The only things i would change next time are the fact that i took a bit too long on the books and would like to have them done quicker and also to add more of a variety of assets of size and shape to really push myself.